
I do major mods to the frames of my builds, so I have come up with some methods to make it easier to use JB Weld.
If you have other tips on using JB Weld, please share.
First make sure you use the right stuff. JB Weld makes a large verity of epoxy and I think I have use them all and the best to use is
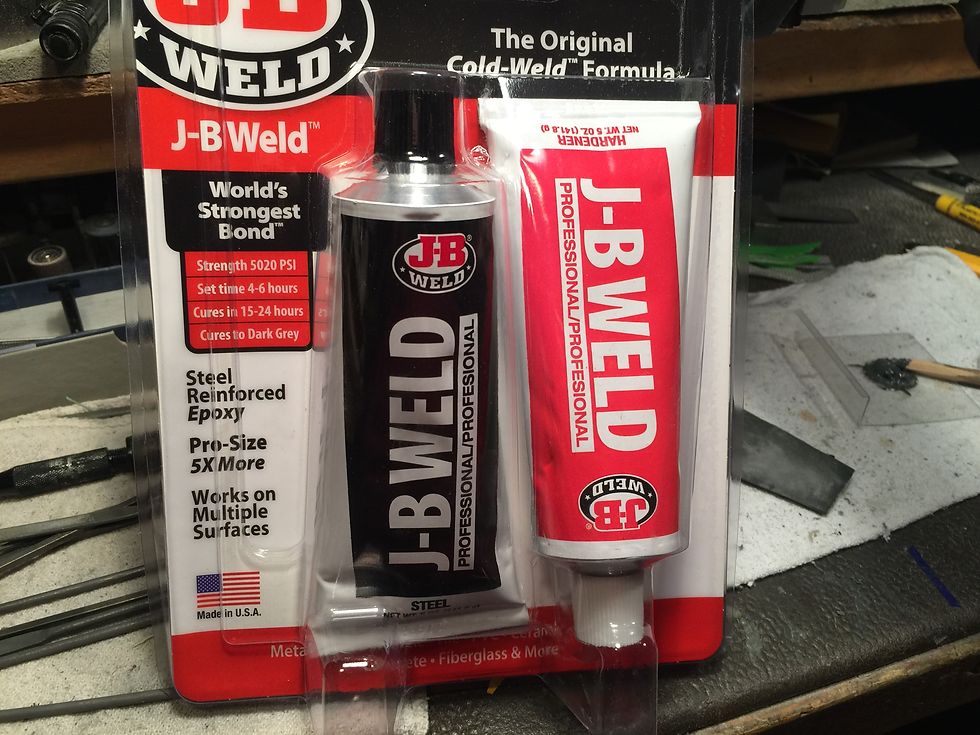
This stuff really bonds to polymer, just make sure there is not any paint under the area you are working.
The most common use for JB Weld is fixing miss drilled pin holes. It has been a long time since I had to fix pin hole but my first two build had pin problems that I had to fix. Just put tape on the inside of the frame over the hole and add JB Weld, this will work but if your taking down you build a lot (pushing pins in and out over and over) you run a chance of push or chipping your JB Weld fix. This happened to me and I had to redo the pin fix, but this time I put a small bevel on each side of the pin hole. Then put tape on and add JB Weld, but add it a little at a time. The reason is you want to make sure you get JB Weld in the bevel inside between the tape and frame. If you trap air here your fix may chip off. This is what I do and I know it is not the only way to fix pin holes, but I think this is the best way for a quality fix that will hold up over time.
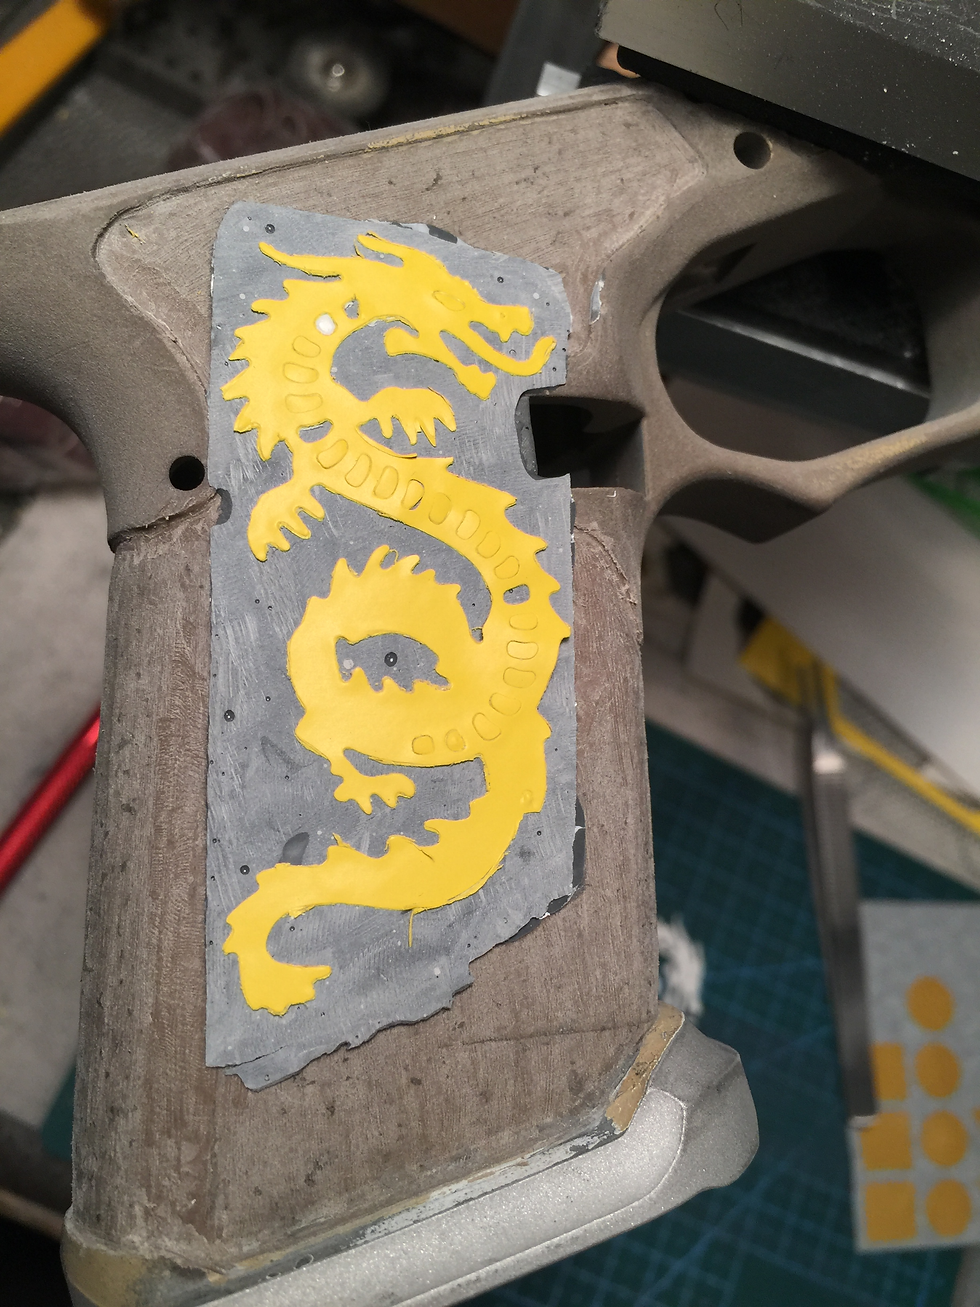
Now for the fun stuff. Have you seen grips with a design or saying cut in to the grip?
There is two ways to do this fist is to just remove polymer in the grip area leaving the design you want to use, But using this technique make your grip area very thin and it is all ready thin here anyway, plus if you have a big hand this make the grip even smaller. The way I do my builds takes longer but I feel that keeping more stock in the grip area is the safer way to go. If you plan on doing stippling the more stock you have in the grip the less chance you have of pushing through with a hot iron tip.
So here goes, I decide on my lay out and what type of borders I want to use. After having my grip planed out I then remove all the factory stippling by sanding with course sand paper leaving a rough finish so JB Weld will bond. After deciding on a design I use thin silicone baking sheets to make a form to fold JB Weld to the shape what I'm wanting. I use silicone baking sheets because nothing sticks to it. JB Weld just flacks off after it sets up.

What I do is take the stencil I plan on using and using it as a guide for cutting out my form on the silicone baking sheet. Just make it a little larger.

Some times your stencil may have to much detail to cut a form, you just need to make it big enough so you stencil will cover.
Use your stencil as a guide to cut detail.
Here's a tip that is going to make things a lot easier for doing this detail work.
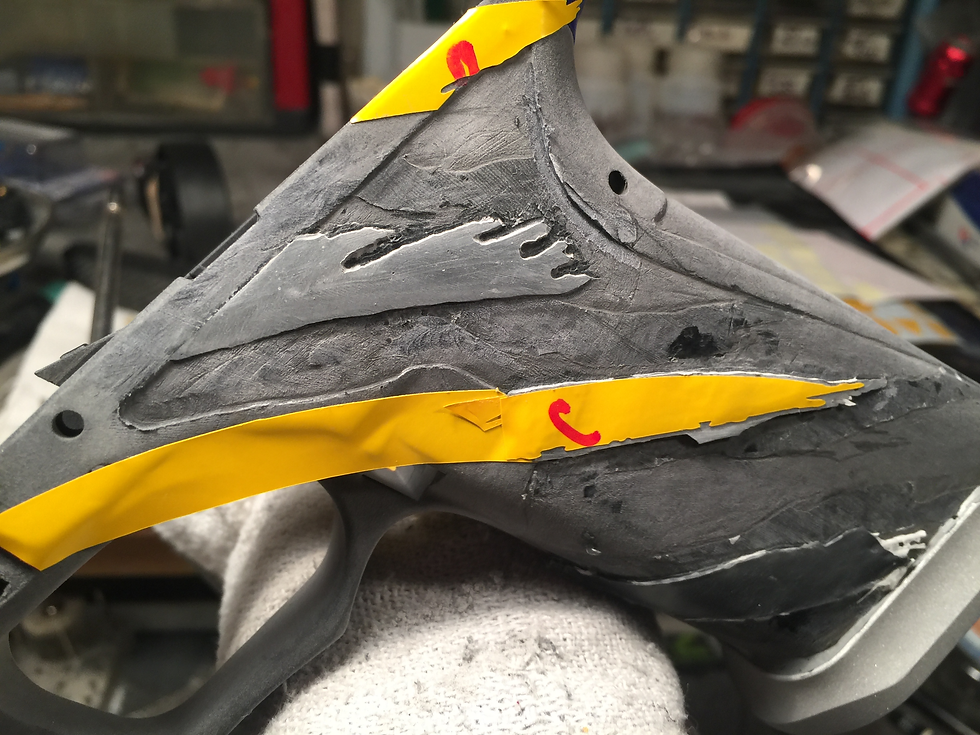
All Ways leave extra stock when you start bring you design closer and closer to the finished state. After I remove the form the first thing I do is start sanding the height, leaving plenty of stock to finish up later.
Next trim to the shape of your stencil, But remember that if you are planning on do stippling you have to leave room for the hot iron tip to fit. What I mean for example is my MGB Freedom build, the tattered flag detail had to be wider then the stencil so I had room for the stippling. The same thing happened with the dragon. I had to cut off the rear feet of the dragon because the detail was to tight for the stippling. Just make sure you plan every step out before you start.
I use diamond burrs to trim out the sides. You can shape JB Weld very easy with diamond burs and they come in all shape and sizes.
Once you shape the sides up to your stencils, you can bring the top down to finish height.

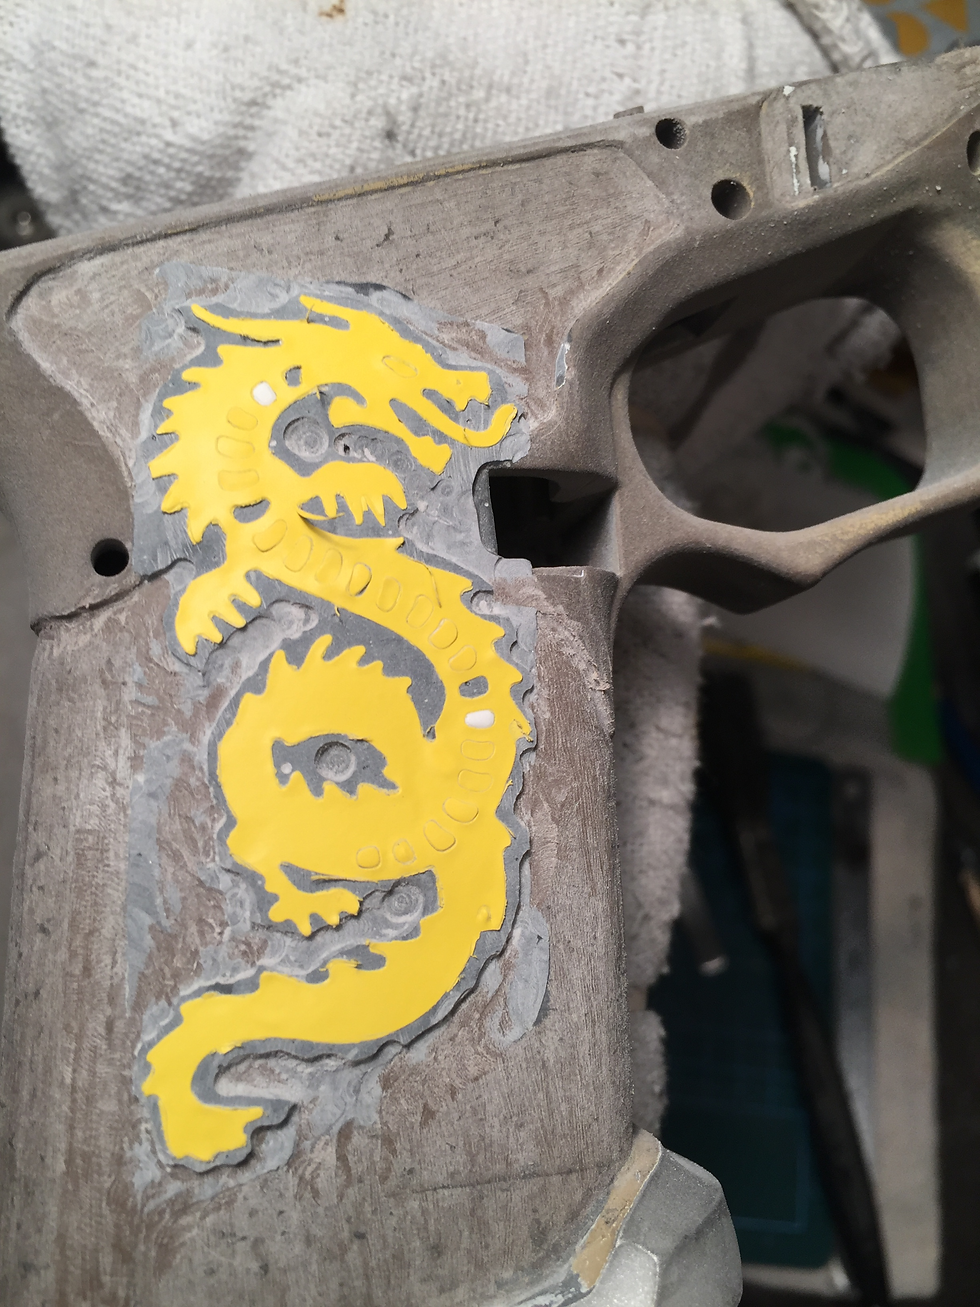
One problem that keeps coming up for me when using JB Weld is pitting.
LB Weld has reinforced steel added to it that will get blasted out after sandblasting, I would see more and bigger pitting holes, so I stopped blasting the JB Weld area and that helped but I still have them showing up.
I use to let JB Weld set for 1/12 hours, then wet my finger tip, then pat JB Weld to shape it but doing so seems to put air pockets which makes pitting holes, so I stopped doing this and it helped but I still get some pitting just not as bad. Now I use let JB Weld set and sand it down, this seems to leave the least amount of pitting but you will still get some but never fear there is a fix.
I take a ball diamond burr to open up the pitting hole bigger then dab in some JB Weld then sand down. I all so noticed that when mixing the two part JB Weld don't over mix. The more you mix the bigger chance you have of adding air bubbles which adds pitting. This is the biggest problem I have with JB Weld and one day I'll come up with a way to solve this problem.
I should do a list of all the tools I use to do my custom work. I will but I need to take some pictures then I'll do a right up on my tools and how to use them.
by Hawkeye » Sun Apr 17, 2022 7:18 pm
I don't use shavings when I use JB Weld because I paint, but those that use cut off tab just melt the tabs over the out of place drilled holes and then redrill. The reason for use the same color tabs is so they don't have to paint. I don't think adding anything to JB Weld helps, JB Weld is stronger than the polymer, just the wrong color. I have tried adding shaving once and it just caused a mess and I had to redo it, the reason was that when I went to sand the polymer, being softer it would just roll out and leaving a pit hole that had to be filled up. All this was doing some grip mods and not redrilling holes, but I still wouldn't use shavings. The best way to use JB Weld in fixing bad holes, is to chamfer the hole on each side then fill with JB Weld and redrill This way JB Weld sandwiches the polymer and can't be pushed in or out of the fix.